
- 1
Define your brand basics
Lock your business name, logo, one or two brand colors, and your signature menu item. These are the anchors every design decision hangs on.
- 2
Choose a layout that fits your trailer
Start from a design built for your cuisine and trailer size. Keep the name and hero item the two largest elements, and leave the serving window clear.
- 3
Preview it in 3D
Load the design onto your trailer model in the 3D viewer. Check legibility from a distance and make sure nothing important sits where it will be hidden by equipment or the window.
- 4
Produce and install
Approve the design, then have it printed on quality vinyl and professionally installed. Golden State Trailers builds and wraps the trailer for you.
How to Design a Food Truck Wrap, Step by Step
Designing a wrap is less about software skill and more about clear decisions. Follow these four steps and you will end up with a trailer that does your marketing for you.
Frequently asked questions
Do I need design software to design a wrap?
No. Start from a ready-made design and customize it, then preview it in 3D. You do not need professional design tools to get a great result.
How do I know the design will look right on my trailer?
Preview it on your actual trailer size in the 3D viewer before printing. That step catches layout and legibility problems while they are still free to fix.
What happens after I approve a design?
Continue to Golden State Trailers, where the wrap is printed on quality vinyl and professionally installed on your trailer.
Keep reading
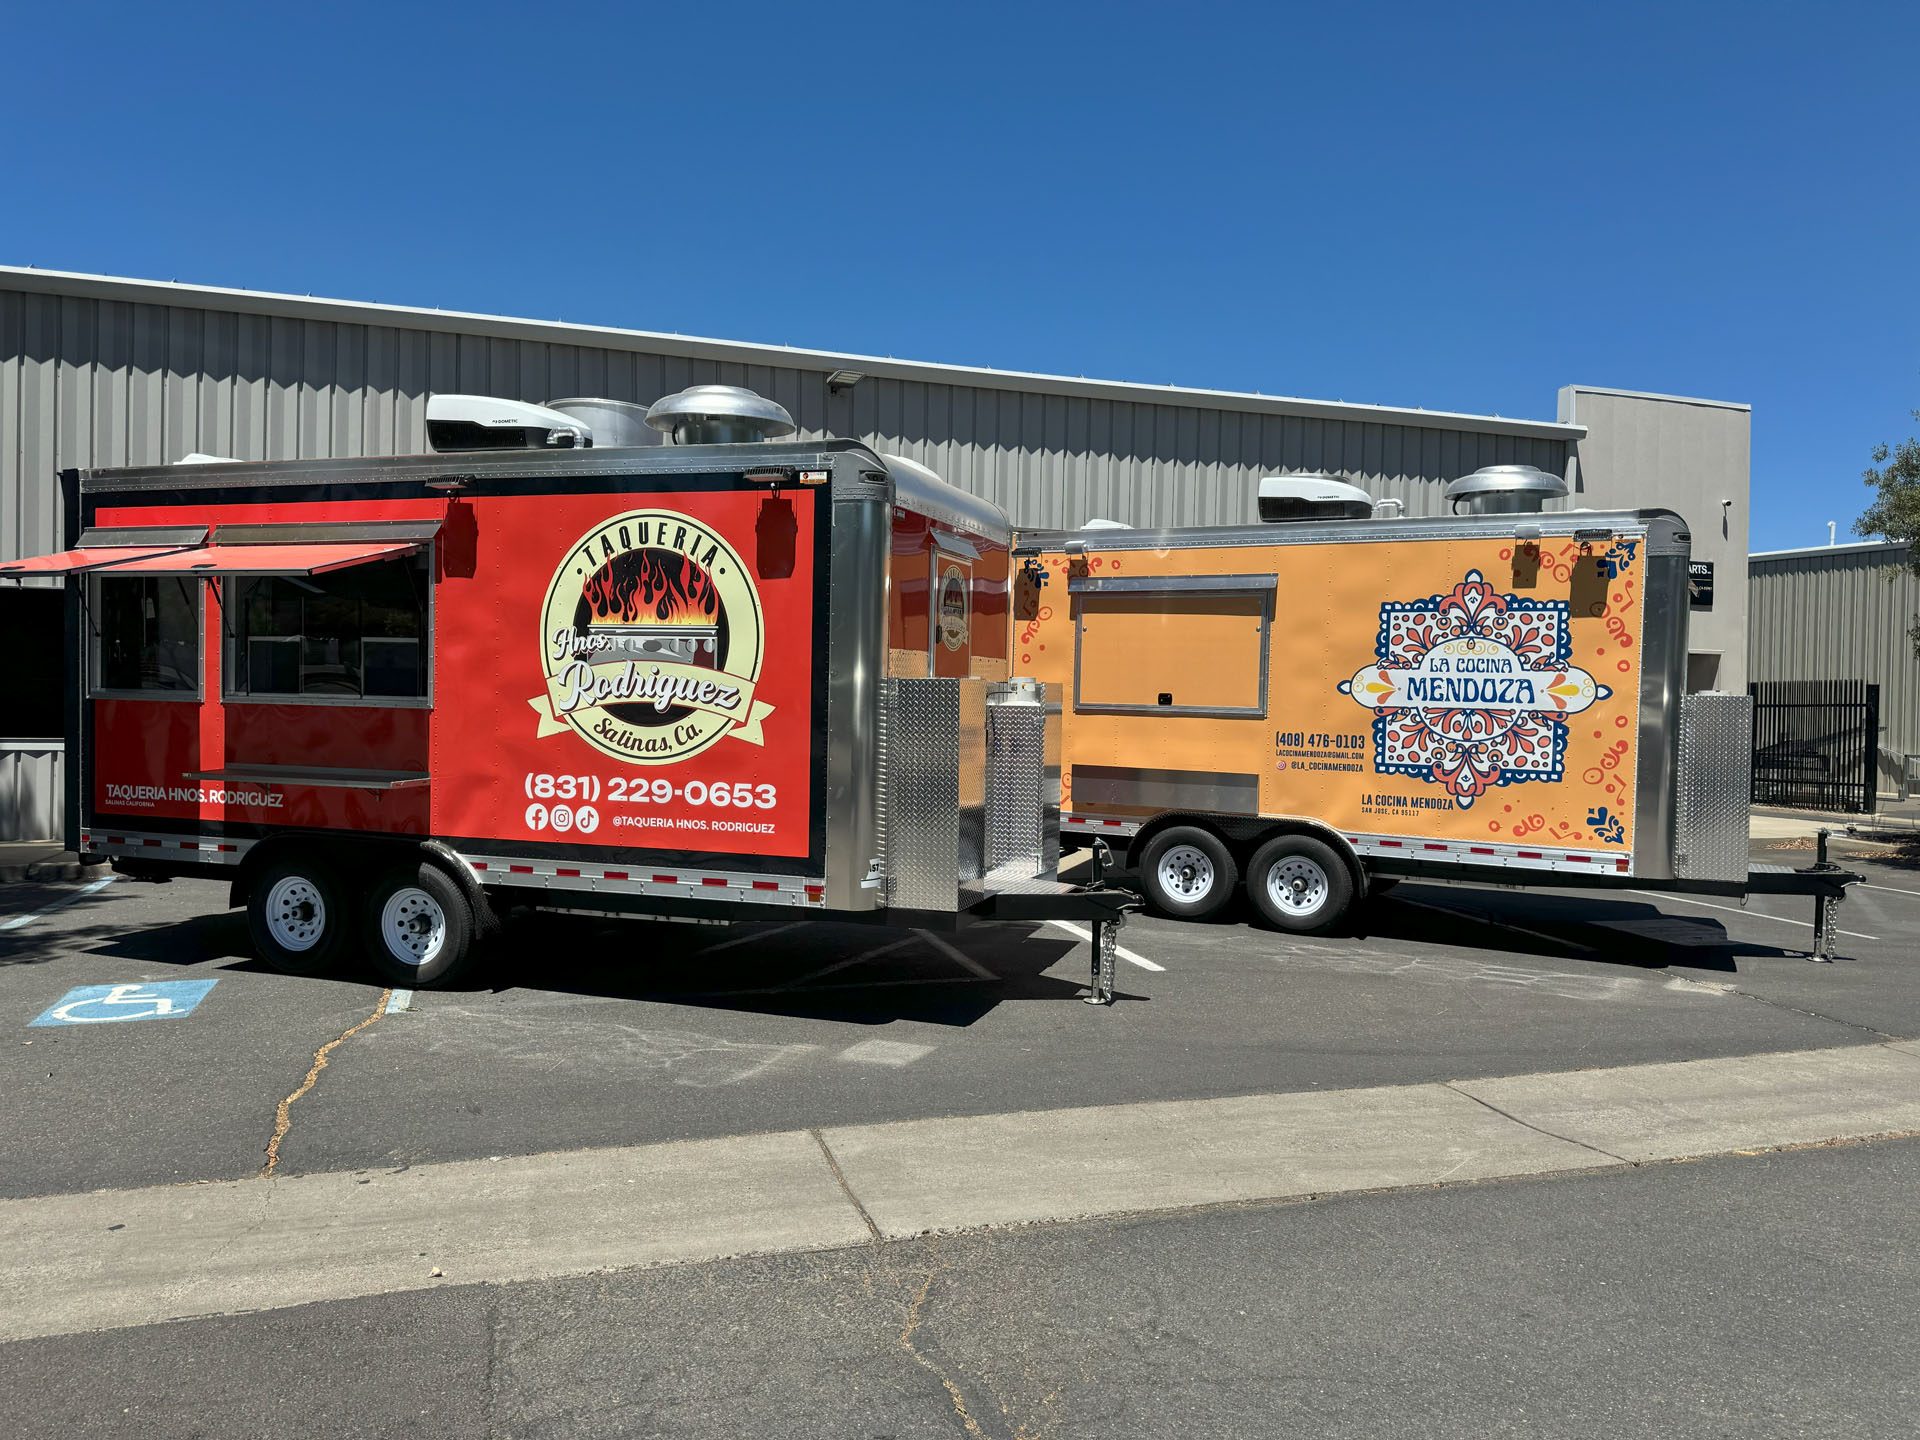
See your design in 3D
Browse ready-made wrap designs, preview any on your trailer, then build it with Golden State Trailers.